
|
Fuselage Rebuild |
||
 |
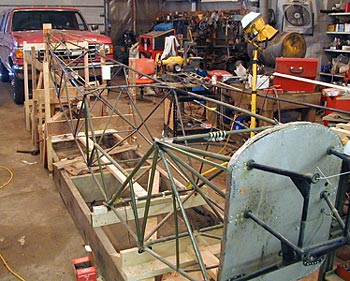
I created a jig from lumber to rebuild the fuselage in the proper alignment as indicated in Taylor Aircraft fuselage drawing. | |
 |
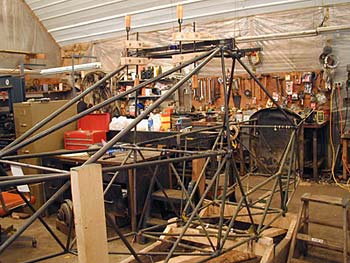
Further along with the process of fitting and tack welding fuselage tubing. | |
 |
Positioning wing attach fittings using a simple jig. | |
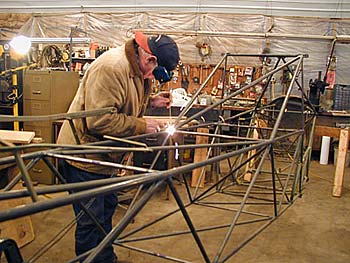 |
Here I am finish welding the tack welded fuselage. I'm using an oxygen acetylene torch. My original intention was to tig weld. I bought a better outfit and did a lot of practicing, However, in the end I felt much more comfortable with o/a. I did tig weld some fittings etc. that I could do on the bench. The fuselage turned out well in spite of the crude wooden jig. It took a lot of effort with measuring tape, wire datum, levels and plumb bobs, and good drawings supplied by the Cub Club. Still left to do are the batwing (birdcage) and turtle deck. | |